How to install IBM MQ on windows
Step 1: Ask system admin to create new user and password for MQ. Add newly created user “xyz”
by right click on Users with password “abc” under Computer Management.
Step 2: Create new group “mqm” and add newly created user “xyz”
into “mqm” group. enter
the object name as “xyz”
and click on check names. Click on OK.
Step 3: Click on create.
Step 4: Similarly, add your system login ID (check administrator role from user account)
on mqm group.
Step 5: Double click on setup.exe from installation path.
Step 6: Select No in Network Configuration option.
Step 7: Click on “Launch IBM Websphere MQ Installer” under Websphere MQ
installation.
Step 8: After few seconds below setup screen will come, select below option
and click on next.
Step 9: Select “Typical” option and click on
next. And than click on install. Installation will take few minutes. After installation click on
Finish.
Step 10: Click on Next and than again next.
Step 11: Give user name and password which is created by System admin. Click on next, if you will receive any error, kind of user name and password mismatch ,Click on cancel and follow steps from 12 or else follow step 15.
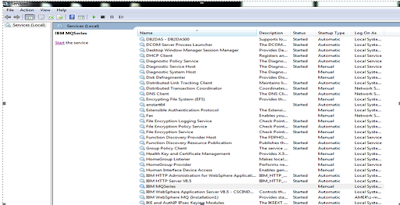
Step 12: Go to Services and find IBM MQSeries and start service.
Step 13: Find IBM WebSpher MQ(Installation X) and go to properties and under
Log on option enter password(abc)of created user. or you can simply choose Local system account.Start the service.
Step 14: Go to All Programs and click on “Prepare websphere MQ wizard” and
follow the previous steps from 10 and 11.
Step 15: Click on finish
I will discuss about Step-wise how to create remote Queue in IBM MQ in my next post.
Related Topic:


No comments:
Post a Comment